HGUC Sinanju Wip 3
1st, get the right base and start applying wall putty and styrofoam as a foundation.
After getting the foundation ready, I start adding small scrumps of stryofoam to break the even shape. Follow by apply the white glue tissue paper on top of the foam to hide anything that look like foam instead of rocks.
Finally, added the glue + sand mixture over the base. mostly tackling areas like holes, flat surface and ground area.
Did take any photo in between cause my hand are fill with putty... YEAH...
Let the base dry for a day and start spray black as a base coat.
I took this photo in the toilet to let the smell air out, instead of putting it in my room...
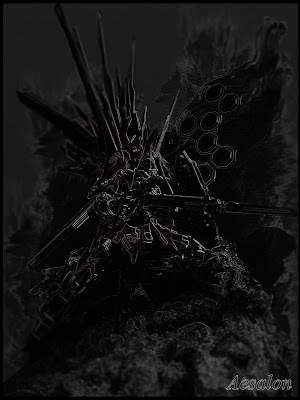
Ta daaaa... this is what I have after that.
One super cool thing that I wanna share is this.
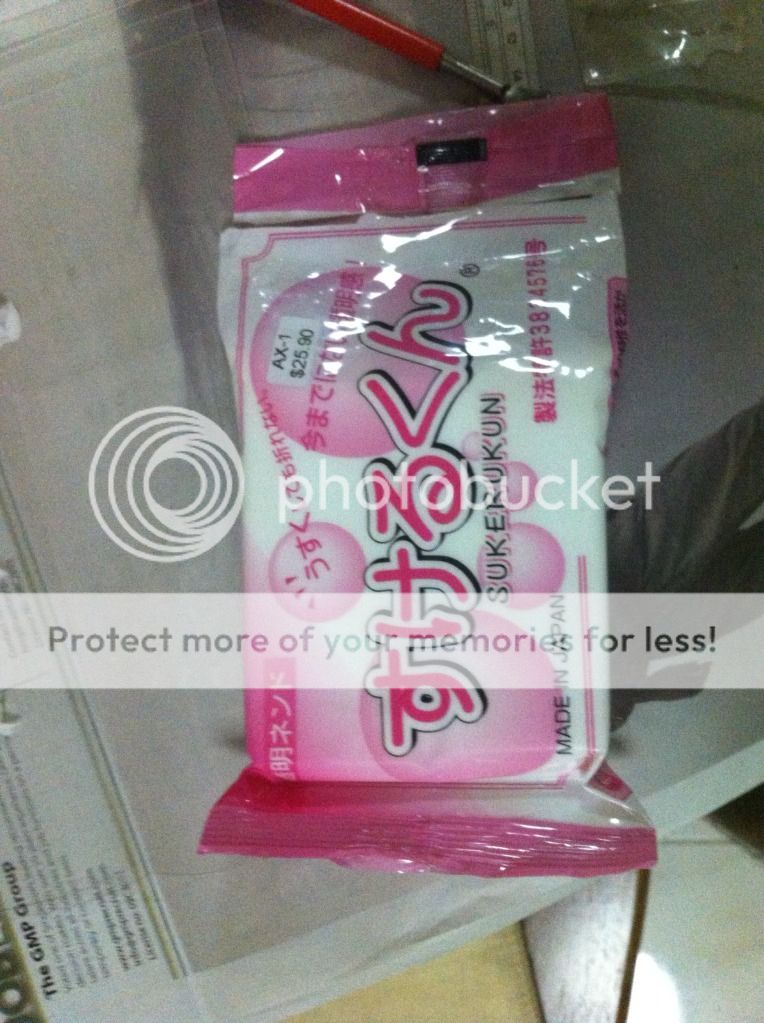
Sukerukun clay. Why I say it is super cool cause when the clay dry up... it get transparent.
I was searching for something like this in ART FRIEND for a while until I got to know this from GOOGLE. Went to do a quick search where I can grab a packet of this clay in singapore and WOW... I am so lucky... the shop is located just around my working area.
Just in case anyone is interesting to know where to get this clay locally, it here.
Tinkle Art n Crafts, I like the name and what they have to offer. The shop was smaller than HAG but they have alot of accessory to offer. If you are into doll house.
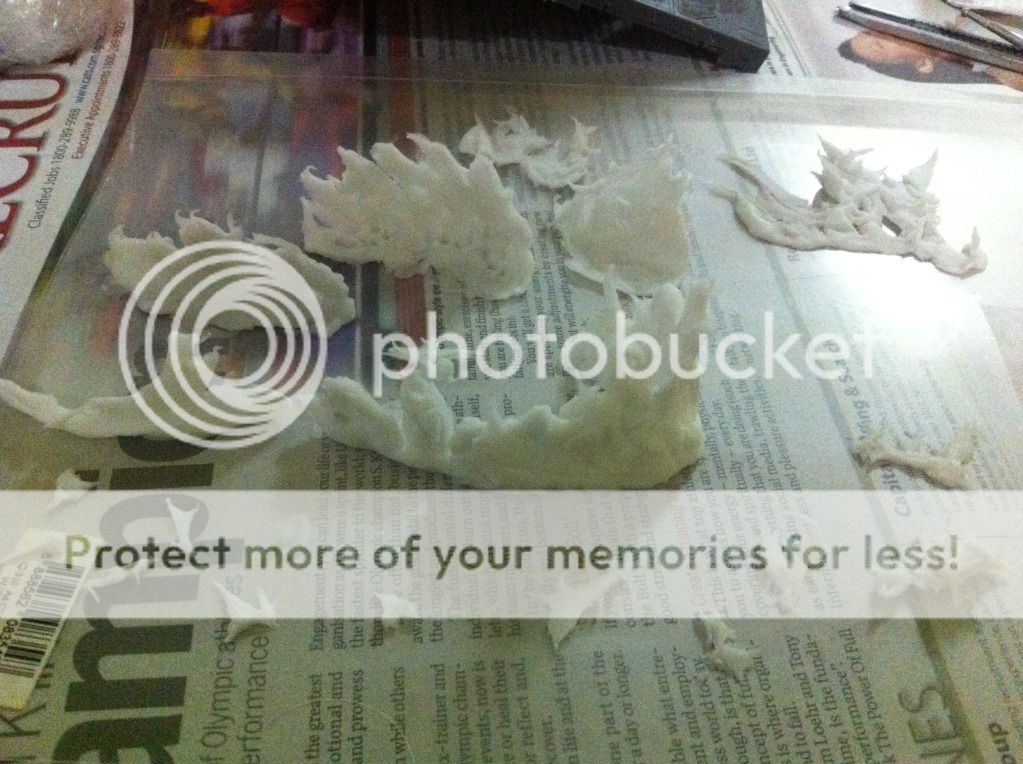
Start sculpting some flames using the soft cooling clay and keep the rest in a dry area for future use.
It might not look transparent at all because it haven't dry yet. You need to let it dry at least for a day. The thinner the clay is, the more transparent it get.
After a day...
and five mins later...
Yup, so this is my progress on my diorama.
I am going to spend the next weekend working on this diorama again.
Testing out the Led lights for special effect stuff and start painting.


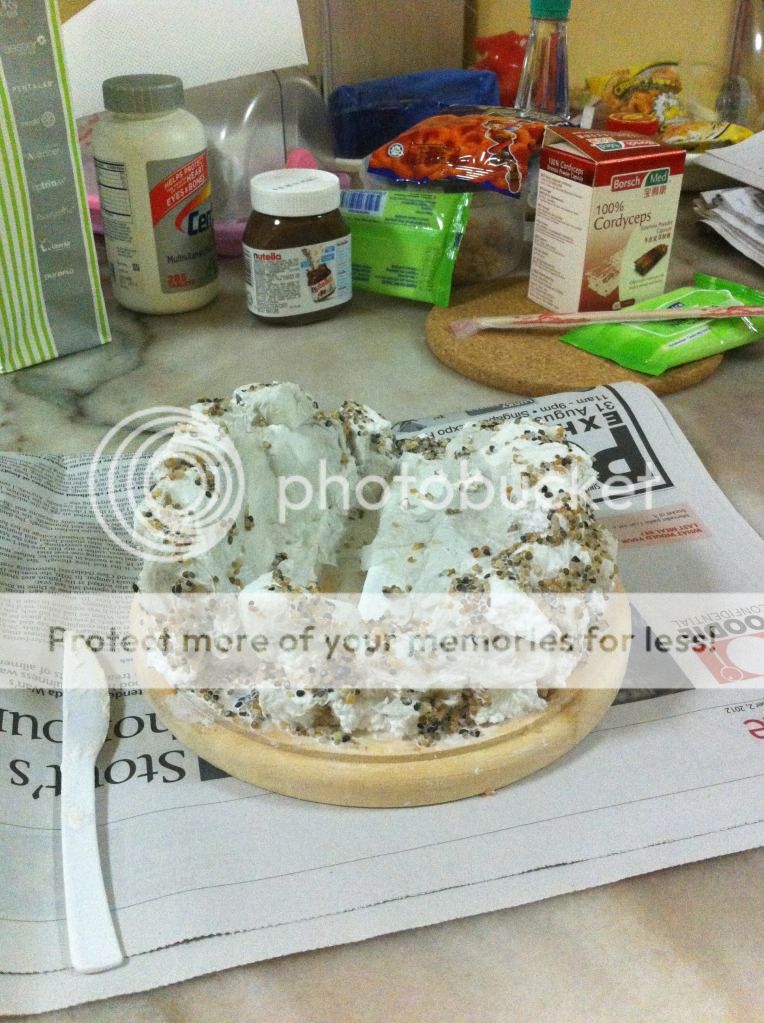
2nd pic looks like cake. somemore got knife ready le
ReplyDeletebish... lol
Delete